


Overview
Microsoft Power Automate is a powerful tool that enables users to automate tasks and processes across various Microsoft 365 applications. One common use case is copying files from one SharePoint site to another. This blog will provide an overview of Power Automate, explain why it is ideal for such tasks, and offer a detailed step-by-step guide to help you copy files between SharePoint sites. By the end of this guide, you’ll have the knowledge to set up and customize your flow for your specific needs.
Content
- Introduction to Power Automate
- Prerequisites
- Step-by-Step Guide
- Creating the Flow
- Configuring Trigger and Actions
- Testing the Flow
- Conclusion
Prerequisites
Before you begin, ensure you have the following:
- Access to Power Automate (via a Microsoft 365 license).
- Permissions to both the source and destination SharePoint sites.
- Files in the source SharePoint document library.
Step-by-Step Guide
1. Creating the Flow
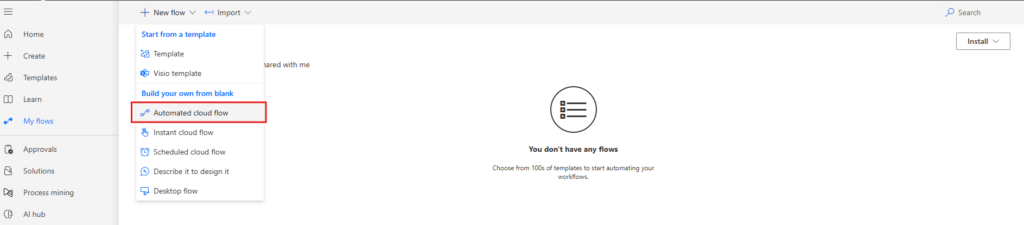
- Go to Power Automate.
- Click Create in the left-hand menu.
- Select Automated Cloud Flow.
- Provide a name for your flow, such as “Copy Files Between Sites.”
- Choose a trigger, such as “When a file is created or modified (properties only)” from the SharePoint connector.
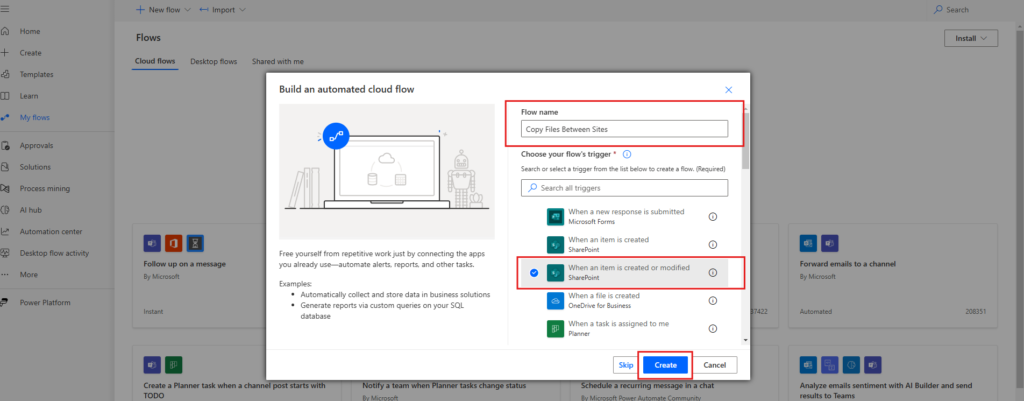
- Click Create.
2. Configuring Trigger and Actions
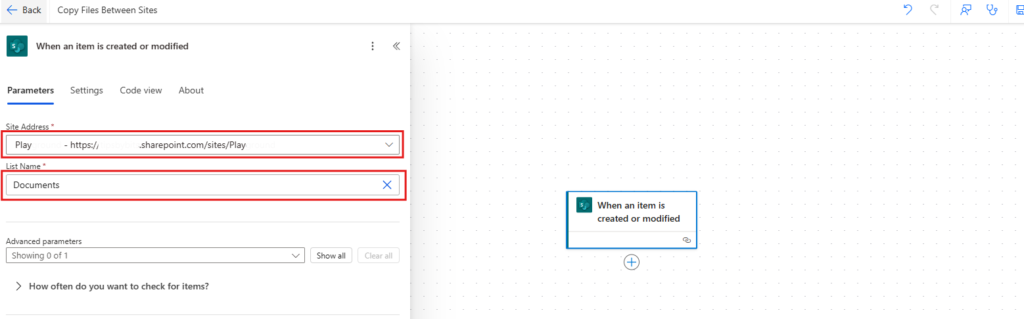
Configuring the Trigger
- In the trigger, provide the following details:
- Site Address: URL of the source SharePoint site.
- Library Name: Name of the document library where the files are stored.
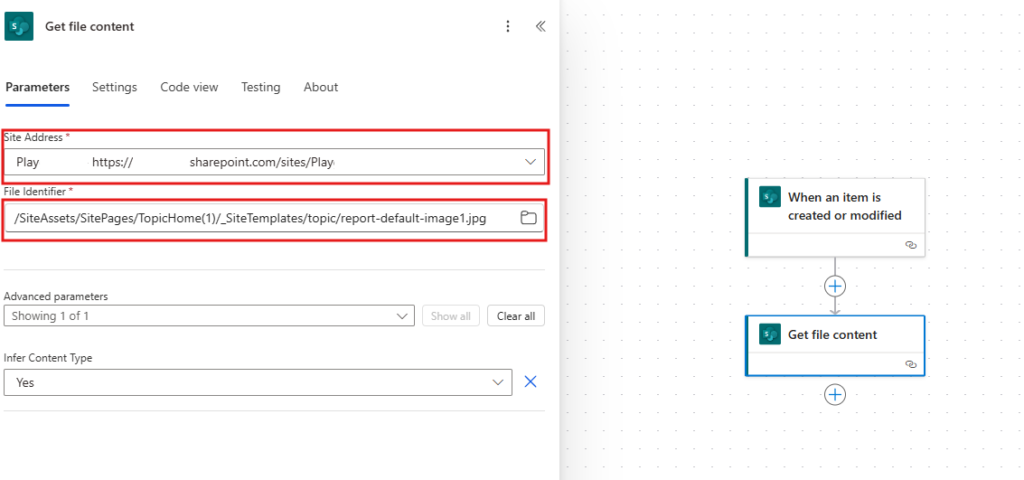
Adding the First Action: Get File Content
- Click + New Step.
- Search for and select the “Get file content” action from the SharePoint connector.
- Configure the action:
- Site Address: URL of the source SharePoint site.
- File Identifier: Use the dynamic content from the trigger step to select the identifier of the created or modified file.
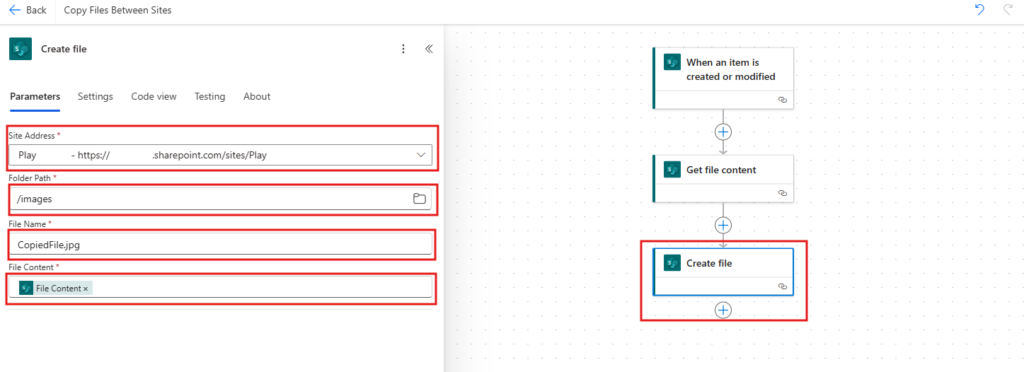
Adding the Second Action: Create File
- Click + New Step.
- Search for and select the “Create file” action from the SharePoint connector.
- Configure the action:
- Site Address: URL of the destination SharePoint site.
- Folder Path: Select the destination folder or library.
- File Name: Use the dynamic content from the trigger step to provide the file name.
- File Content: Use the dynamic content from the “Get file content” step to provide the content.
3. Testing the Flow
- Save the flow.
- Upload or modify a file in the source library to trigger the flow.
- Check the destination library to verify if the file was copied successfully.
- Monitor the flow’s run history in Power Automate to ensure it ran without errors.
Conclusion
Using Power Automate to copy files between SharePoint sites is efficient and customizable. With just a few steps, you can set up a flow to automate the process, saving time and reducing manual effort. Power Automate not only simplifies file management but also enhances productivity in collaborative environments. Try it out today and explore the countless possibilities of automation!
App Catalog Authentication Automation Backup Compliance Content Type CSS Flows Google Javascript Limitations List Metadata MFA Microsoft Node NodeJs O365 OneDrive Permissions PnP PnPJS Policy PowerApps Power Automate PowerAutomate PowerPlatform PowerShell React ReactJs Rest API Rest Endpoint Security Send an HTTP Request to SharePoint SharePoint SharePoint List SharePoint Modern SharePoint Online SPFX SPO Sync Tags Teams Termstore Versioning